
Skateboarding is a thrilling pastime. Perhaps the best part is that there are endless colors and designs you can choose from. But, there will always be a chance of coming across someone at the skateboard park with the same skateboard design as you.
So, why not create your very own customized skateboard that speaks more to who you are, rather than going for those same old mundane skateboard designs?
Continue reading below as we tell you how to paint a skateboard and achieve excellent and long-lasting results!
Materials You Will Need to Paint a Skateboard
Before we head over to the steps of how to paint a skateboard, let’s go over the materials you need for a flawless paint job on the skateboard.
- Aerosol spray paints
- Sandpaper
- Primer
- Stencils of your favorite designs
- Tapes
- Clear coat
- Protective gear, including coveralls
You can easily find these materials at your nearby hardware store.
Now, onto the steps of painting your skateboard.
How to Paint a Skateboard
1. Preparation
You should start the painting process by setting up your work area.
Painting your skateboard will create amounts of sawdust and spray paint splatter that can easily get all over the surrounding area. Wear old or worn clothing and lay a tarp or drop cloth on areas you want to protect against paint splatter.
Choose a well-ventilated space – the fumes from spray paint are toxic and can build up in an enclosed space.
We highly recommend using spray paint respirators, as they can help stay protected from toxic spray paint chemicals and fumes.
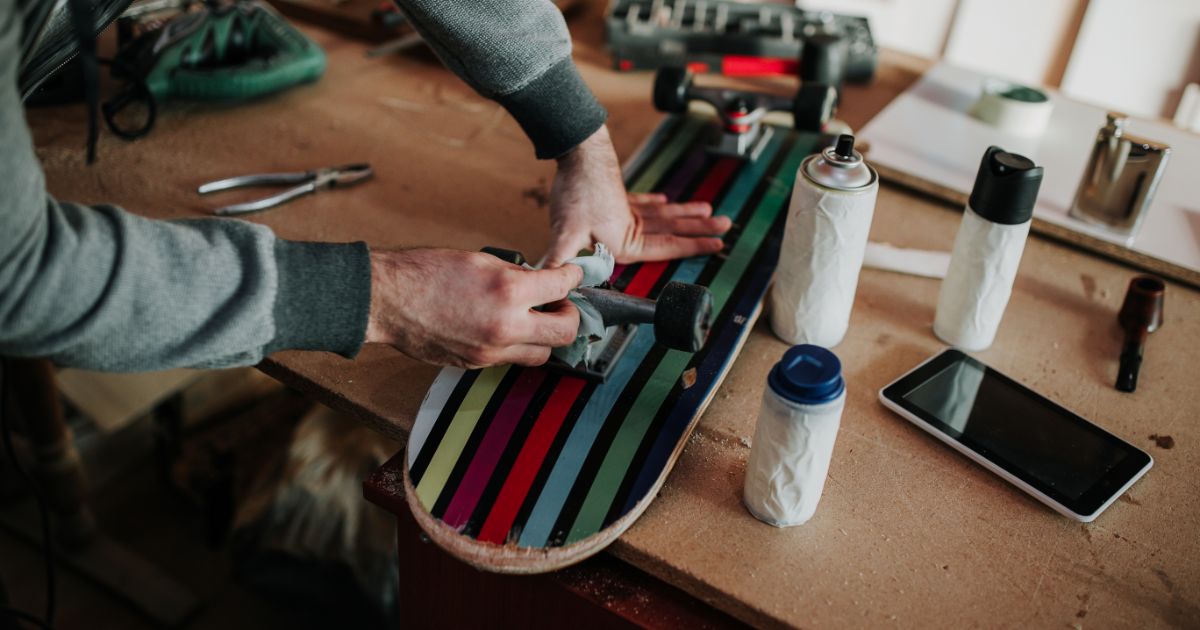
2. Remove the Truck Assembly
To prep your skateboard, start by removing the truck assembly from the deck.
Loosen and detach the four truck bolts with the help of a skate tool. Rotate the nuts in a counterclockwise direction, and set the bolts free.
Now that the bolts are free, you can easily store away the two trucks in a safe place. You can reinstall these components when you have completed painting your skateboard, and when the paint has dried.
3. Sand the Deck
The key to a smooth paint job is sanding. Sanding your deck will help remove any imperfections that may be present in the wood, which can create an uneven paint job. Sanding will also help the paint adhere to the deck more easily.
Use fine sandpaper for initial sanding, and start sanding your deck in a circular motion. Then, grab a sponge soaked in warm soap water, and rub it on your deck. Allow your deck to dry off for a few minutes after washing.
4. Prime
The next step is to apply a primer to the deck.
You can choose to go for an aerosol primer or hand primer for your deck. In many cases, an aerosol primer works best.
Apply the primer by using long and light sprays in the nose-tail direction of the deck. Make sure to spray the primer evenly and maintain a certain distance.
After you have applied the first layer of primer, wait for it to dry. It may take up to 30 minutes for each layer of primer to dry completely.
Once the first layer is dry, apply a second layer of primer for the perfect finish.
5. Re-sand the Deck
After the final layer of primer has dried, you may want to re-sand the skateboard’s surface using 150-grit sandpaper to smoothen the deck.
Remove any bubbles you might notice with slow back-and-forth movements. Eliminate primer sawdust after re-sanding with the help of a wet cloth.
6. Prepare the Design
There are several different designs you can choose to paint – from classy and cool designs to funky graffiti designs – and draw the attention of others toward your skateboard.
After you have decided on the design elements, do a sample drawing of the design so you’re less likely to make a mistake when applying the paint onto your skateboard.
Start by drawing a rough shape of your skateboard on a piece of paper, and then sketching out your design inside the deck.
7. Prepare the Colors of Your Design
Now that you have the design for your skateboard, decide what colors you want.
Label the colors for your design on the sample drawing.
Finally, number the designs you have drawn to easily know which one you will be going to be painting first. This way there’s no hassle.
8. Apply the Base Color
Finally, the fun part!
The base coat will be the background of the design you have drawn.
Two of the best options to go for in terms of base color paint are white and black since both colors help the other shades of your design stand out better. But, the choice is yours to make!
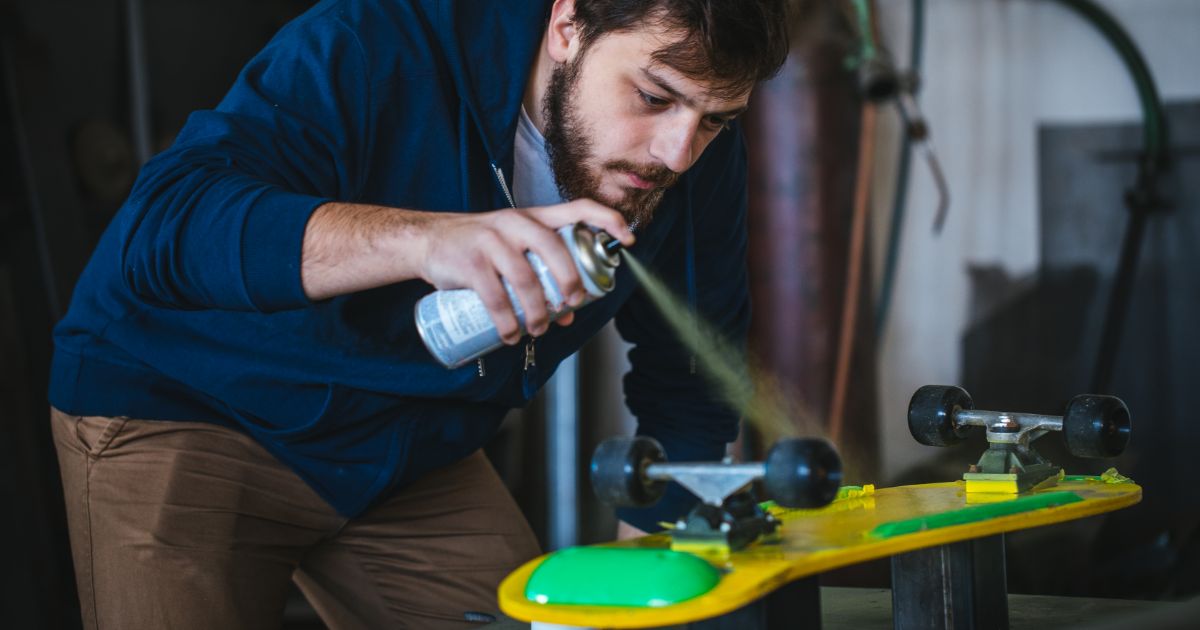
Shake the can of aerosol paint for a short period, and start spraying the base evenly with paint, starting from nose to tail. Don’t apply the paint too heavily.
Wait until the first layer of paint has dried completely before you move on to the next coat of paint.
9. Add Stencils or Tape
Attach the stencil or tape design to your deck to initiate the painting process.
The areas that are covered will remain the same color as the base layer. The holes in the stencil are what need to be painted.
Here’s a helpful tip: leave extra tape extending beyond the edges of the skateboard. This will make removing the designs easier when you are done painting your skateboard.
10. Paint Layers of Colors
Now that you have your stencils or tapes ready to be filled in with paint color, start painting in the open spaces ensuring even coverage.
Make sure each layer dries completely before you spray the next layer, so that the colors do not mix.
Continue adding stencils or tape, and add new layers to your skateboard in this same fashion, until you finally achieve the look you are aiming for.
11. Remove the Stencils or Tape
After the paint has completely dried, gently remove all the stencils/tape with care.
Use the excess tape you left hanging from the edges earlier, and set your skateboard free from all tapes and stencils.
Now, you will be able to have a look at your new design.
12. Apply a Clear Coat
The final step of the painting process is to apply a clear coat to the masterpiece you’ve created.
A clear coat won’t only help seal in the colors of the paint and achieve a smoother finish, but it will also give it a glossy shine and protect it from ultraviolet rays of the sun, which means your painted design will last longer, and won’t fade.
Before applying a clear coat on your skateboard’s deck, allow all the paint to dry completely. It can take up to 24 hours for the paint to dry and set completely.
After you have applied a clear coat over the paint on the deck, it is now time to re-attach all trucks you had set aside earlier.
13. Re-attach the Trucks
Now that the paint job is all done, and you’re done making the final finishing touches, you can re-attach the trucks of the skateboard.
All that’s left to do is admire your custom-made skateboard.
You can also add funky and graffiti skateboard stickers to make your skateboard look more appealing.
To ensure your artwork masterpiece lasts a long time, store your skateboard indoors safely, rather than outdoors.
Final Wrap Up
There you have it – a detailed guide on how to paint your skateboard.
Now that you know the steps of painting a skateboard yourself, you can try out new designs and styles from time to time, and impress other skateboarders with your gorgeous customized DIY skateboard! Be prepared to leave everyone out there in complete awe.
We hope you found this article helpful. Make sure to come back for more tips and tricks related to skateboards!